Add Apple Sign-In to Django
A Minimal, No-All-Auth Guide
Srijan
Developer (Z-II), Zemuria Inc.

Integrating ‘Sign in with Apple’ into your Django project without all-auth

Apple’s documentation is pretty obscure, so here’s a comprehensive guide on integrating apple’s “Sign in with Apple” feature with your Django backend without using external libraries like Django-allauth.
Why avoid Django-allauth? While it’s a powerful library, it can be overkill for this specific use case. We’ll implement a clean, minimal solution instead.
Apple uses oauth2.0, even though its not explicitly mentioned in the docs, so if that’s something you’re already familiar with, this shouldn’t be too difficult.
Let’s start with the things you need to setup on your Apple developer console
Setting up your Apple developer account
1. Enroll into the Apple developer program
- This can take a while to verify even after you’hv processed the payment (upto 48 hrs in some cases)
2. Once you have access to the developer console, make an App ID (list of identifiers)
- This is fairly straight forward, just make sure you select Sign in with apple under the “Capabilities” section.
- Note: Your bundle ID needs to be unique, i.e you cannot have multiple App ID’s or service ID’s with the same bundle ID.
3. Create a service ID, click the dropdown at list of identifiers and select “Service IDs”. This is what the header should look like.


- After you’re done creating your service ID, go back to your list of service ID’s and select the one you want to configure with SIWA.
- You’ll see the following page open,
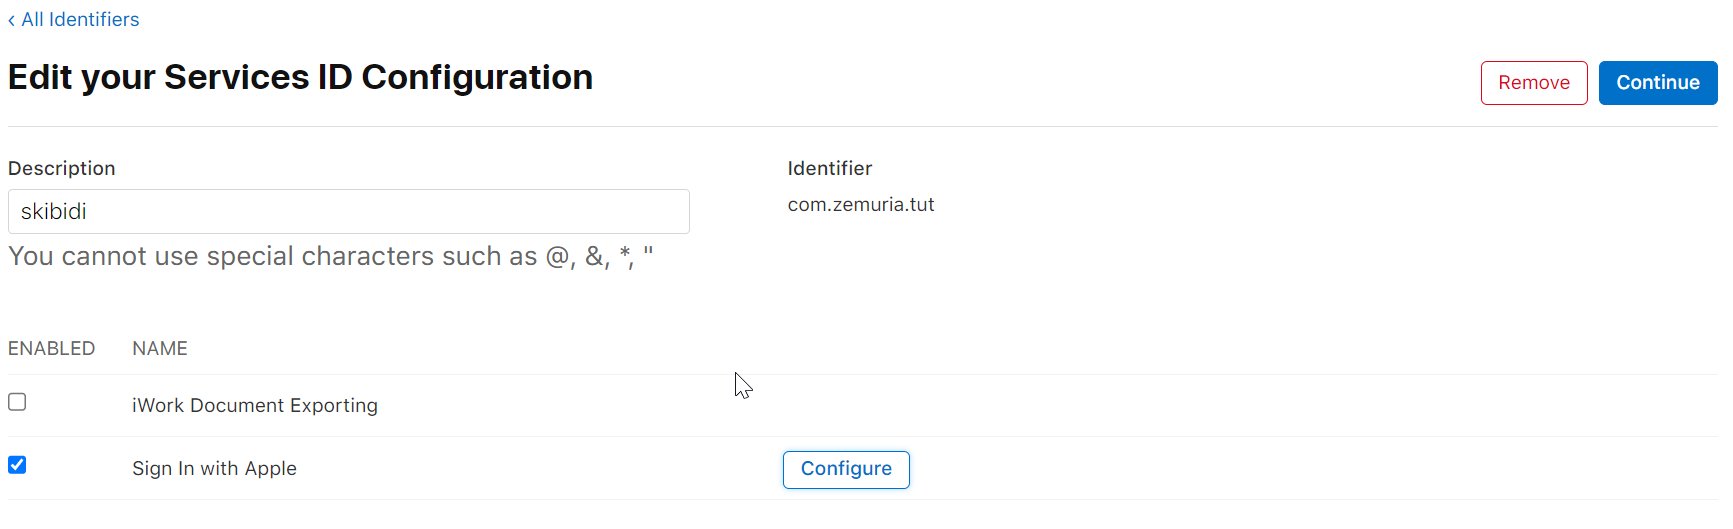
keep the “sign in with apple” box checked and click the configure button
- You should see the following pop up
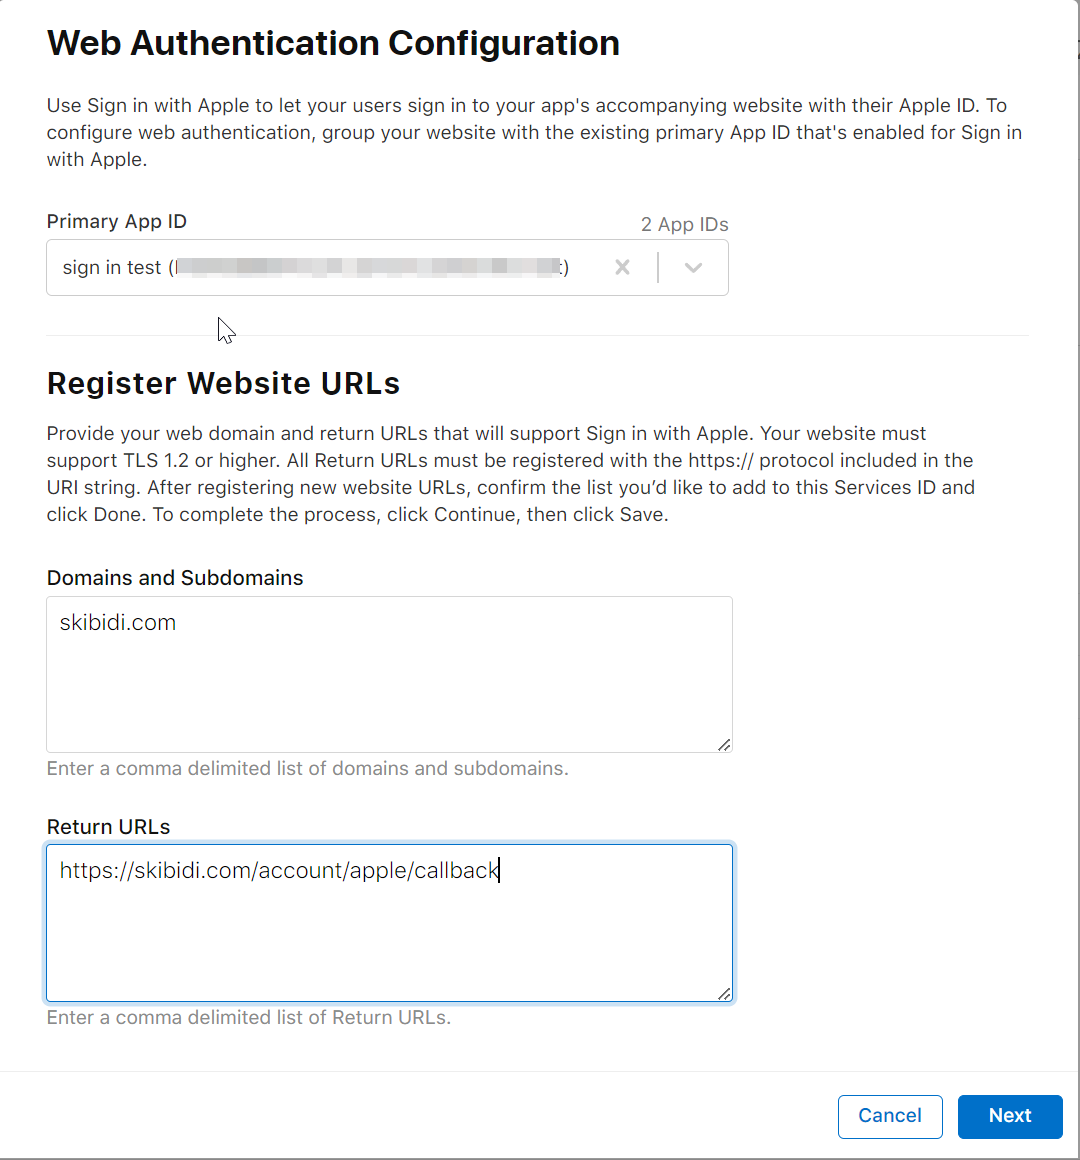
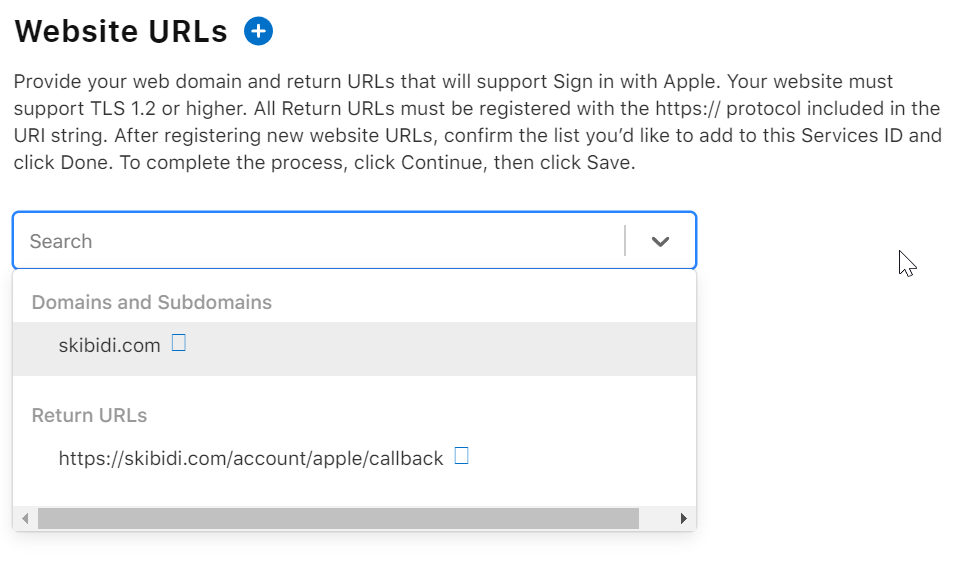
- In the Domains and subdomains section, enter the just domain name of your application without the https prefix. The “Return URLs” section should contain the endpoint in your application responsible for handling Apple’s callback after the User successfully completes the sign in process on the client side.
For Samantha, our “domains and subdomains” section would contain : mysamantha.ai And
our Return URL’s section should contain:
https://mysamantha.ai/account/apple/callback
Notice how the return url is prefixed with https. Now, Apple being apple,
does NOT allow you to use domains without a valid SSL
certificate, which means you’ll only be allowed to use return URLs with
HTTPS and not HTTP.
This is can be cumbersome to set for development and testing but its fairly
straightforward to use once you have it setup. I used mkcert
to create a locally signed SSL
certificate and nginx as a
reverse proxy.
Now, to make sure that your subdomains and return URLs actually register, make sure you follow the following steps:
- Click Next
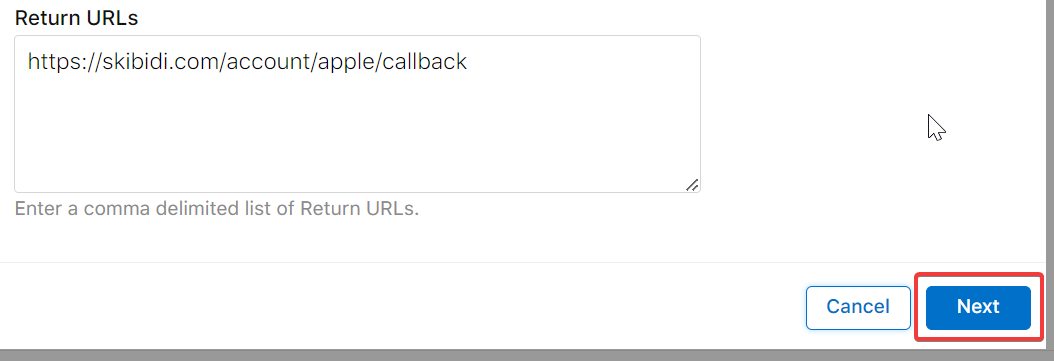
- Click Done
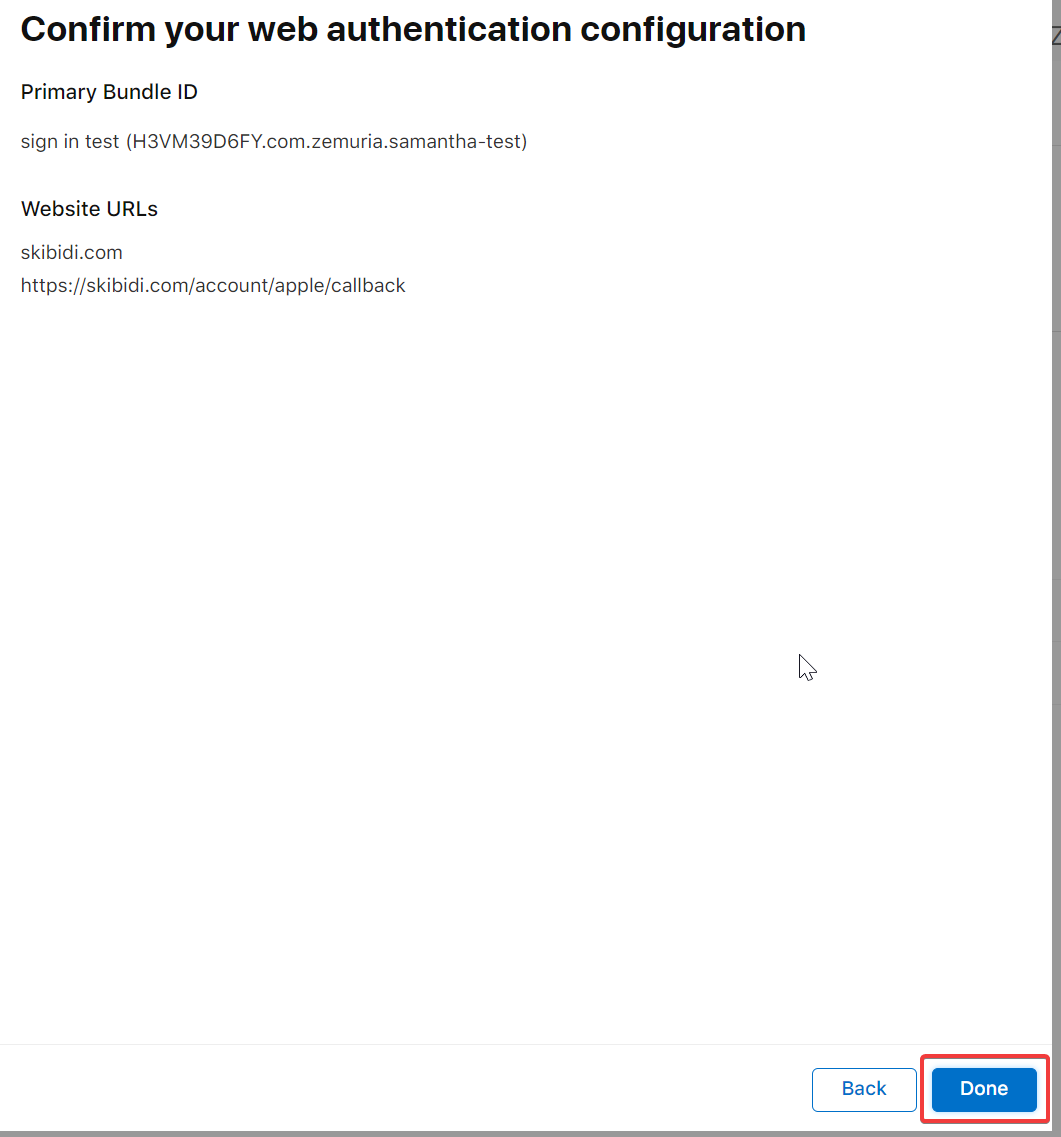
- After that step you’ll see this page again.
Don’t just stop here, click continue and click save in the following page.
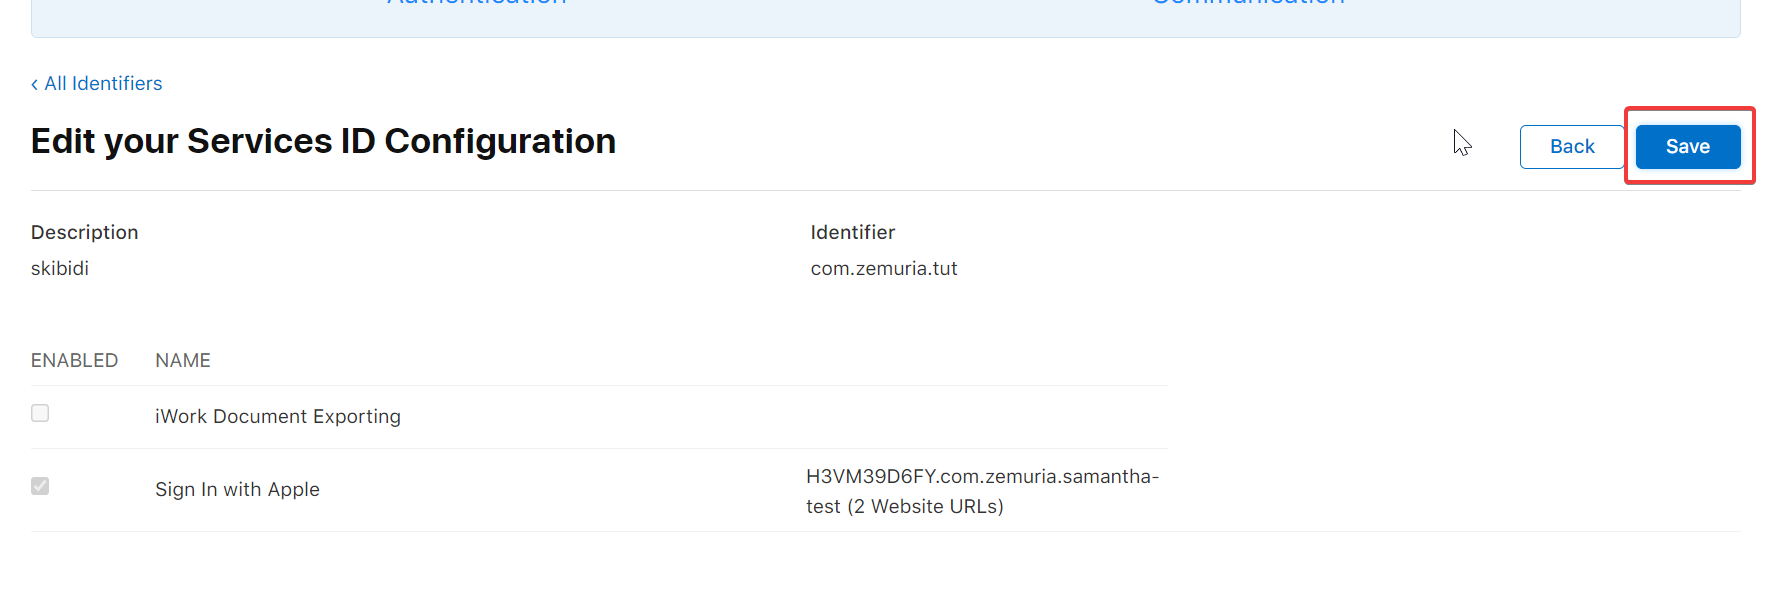
Your configuration URL’s will not be saved otherwise, even if they seem like they’re added in the URL dropdown that looks like this:
1. You’ll now have to create a private key that’ll be used to Sign the JWT that’ll contain your Client ID and Team ID.
- Click configure and select the App ID that you want to associate the private key with
- Download the key. Note that this key is deleted from Apple’s servers after you download it, so make sure you keep it safe.
2. If you followed all of the above steps, you should now have the following:
- Team ID
- Key ID
- Service ID
- Redirect URI
- Private key (.p8 file) That concludes the setup on Apple’s side of things.
Let’s now take a look at how we should go about integrating this with our Django backend.
Setting up your Django backend
To initiate the Apple login process, you first have to redirect your user to the following link https://appleid.apple.com/auth/authorize . The following data must be sent as query parameters to Apple.
| Attribute | Description |
|---|---|
| client_id | your apple client id (service id) |
| redirect_uri | endpoint to your application set in the console |
| response_type | “code” (send this exact string) |
| scope | “email” (send this exact string) |
| response_mode | “form_post” |
class AppleLogin(View):
          def get(self, request):
           params = {
                        "client_id": getattr(settings, "APPLE_CLIENT_ID"),
                        "redirect_uri" : getattr(settings, "APPLE_REDIRECT_URI"),
                        "response_type" : "code", #send this exact string,
                        "scope" : "name email",
                        "response_mode": "form_post"
                    }
     return HttpResponseRedirect(f"https://appleid.apple.com/auth/authorize?{urlencode(params)}")
1. Once the sign in process has concluded on apple’s end, on a high level, the following steps take place:
- Apple sends an authorization token to your application’s endpoint.
- You generate a JWT signed with the private key you downloaded earlier.
- This JWT is sent back to apple via a post request, along with the authorization code you received earlier. - If all goes well, apple responds with a JSON object that contains a JWT (id_token) with the user’s details.
- You can verify the signature of this JWT using apple’s public keys available at https://appleid.apple.com/auth/keys
Lets explore each of these steps in detail
- Get the authorization code from Apple by retrieving the
codekey-value pair from the POST dictionary. This token will later be exchanged for a JWT from apple containing the user’s details.
    def post(self, request):
    authorization_code = request.POST["code"]
    if not authorization_code:
    return HttpResponse("authorization code not found")
- Before the token exchange can take place, Apple needs a way to verify if the
request to exchange tokens is actually coming from your registered application.
This is achieved by sending a JWT signed with our
private keyin addition to theauthorization codein our post request to Apple’s token endpoint ( https://appleid.apple.com/auth/token) - We’ll use the following helper function to generate the JWT that we’ll send to Apple.
    def generate_client_key(self):
    headers = {
        "alg" : "ES256",
        "kid" : getattr(settings, "APPLE_PRIV_KEY_ID"),
        "typ" : "JWT"
    }

    payload = {
        "iss" : getattr(settings, "APPLE_TEAM_ID"),
        "iat" : int(timezone.now().timestamp()),
        "exp" : int((timezone.now() + timezone.timedelta(days=1)).timestamp()),
        "aud" : "https://appleid.apple.com",
        "sub" : getattr(settings, "APPLE_CLIENT_ID")
    }

    private_key = getattr(settings, "APPLE_PRIVATE_KEY")

    encoded_string = jwt.encode(
        payload=payload,
        key=private_key,
        algorithm="ES256",
        headers=headers
    )
    return encoded_string
- Now that we have both the authorization token and our JWT (client_secret), the prerequisites for token exchange are fulfilled.
- send a
post requesttohttps://appleid.apple.com/auth/tokenwith the following fields in the payload.
| Attribute | Description |
|---|---|
| client_id | your apple client id (service id) |
| client_secret | the jwt you signed with your private key |
| code | authorization code from apple |
| grant_type | “authorization_code” (send this exact string) |
| redirect_uri | the redirect uri you set on the developer console |
Content type in the headers MUST be set to to application/x-www-form-urlencoded. application/form-data or any other
MIME type for that matter, will NOT work.
    token_url = "https://appleid.apple.com/auth/token"
    client_secret = self.generate_client_key()
    data = {
        "client_id": getattr(settings, "APPLE_CLIENT_ID"),
        "client_secret": client_secret,
        "code": authorization_code,
        "grant_type": "authorization_code",
        "redirect_uri": getattr(settings, "APPLE_REDIRECT_URI")
    }

    headers = {"Content-Type": "application/x-www-form-urlencoded"}

    token_exchange_response = requests.post(token_url, data = data, headers = headers)

    token_exchange_response = token_exchange_response.json()
If everything goes well, you’ll receive a response from Apple with a body that looks something like this:
{
    "access_token": "<access token here>",
    "token_type": "Bearer",
    "expires_in": 3600,
    "refresh_token": "<refresh token here>",
    "id_token": "<id token here>"
}
The id_token key holds the JWT
encoded with the user’s details. Decoding this JWT should give the following result
in the following format.
{
    "iss": "https://appleid.apple.com",
    "aud": "com.zemuria.test",
    "exp": 1733295098,
    "iat": 1733208698,
    "sub": "101549.1a31c4cf89484d0797s4b113fd14db7.0833",
    "at_hash": "-oF09Dzjbiiymu0wnG_ZnQ",
    "email": "[email protected]",
    "email_verified": true,
    "auth_time": 1733208696,
    "nonce_supported": true
}
Verifying the JWT signature
That should effectively be the end of the sign in with apple process but how would know if the JWT your endpoint received is actually sent by apple?
Best practice here would be to ensure that the JWT you got, is sent from Apple by
verifying the JWT’s signature using one of Apple’s JSON Web Keys (JWK’s)
at: https://appleid.apple.com/auth/keys.
Apple uses the RS256 algorithm to sign and verify
their JWT’s, which means we’ll have to create an RSA public key using the n and e fields from the Apple JWK’s.
This is fairly straightforward to achieve using the cryptography library in python. Convert the resulting public key to PEM format and use it to decode the JWT. If all goes well, we should now have the JWT’s payload with the user’s details.
#verifying jwt signature
        public_keys_response = requests.get("https://appleid.apple.com/auth/keys")
        apple_pubic_keys = json.loads(public_keys_response.text)["keys"] #apple public keys
        jwt_header = jwt.get_unverified_header(token_exchange_response["id_token"]) #get header from id_token jwt
        key_id = jwt_header["kid"]

        public_key_data = next(key for key in apple_pubic_keys if key["kid"] == key_id)

        #Convert JWK to RSA Public Key
        n = int.from_bytes(base64url_decode(public_key_data["n"]), "big")
        e = int.from_bytes(base64url_decode(public_key_data["e"]), "big")
        public_key = RSAPublicNumbers(n=n, e=e).public_key(default_backend())

        public_key_pem = public_key.public_bytes(
                encoding=Encoding.PEM,
                format=PublicFormat.SubjectPublicKeyInfo,
            )

        user_data = jwt.decode(
            key = public_key_pem,
            verify = True,
            jwt = token_exchange_response["id_token"],
            algorithms = ["RS256"],
            options = {
                "verify_signature": True,
            }
        )
Tips:
- Paste your private key into a
.pemfile instead of directly placing it in your env. Read the pem file using the os library. - Make sure to follow all the way through and click save to make sure
your
redirect URIsregister in the developer console.